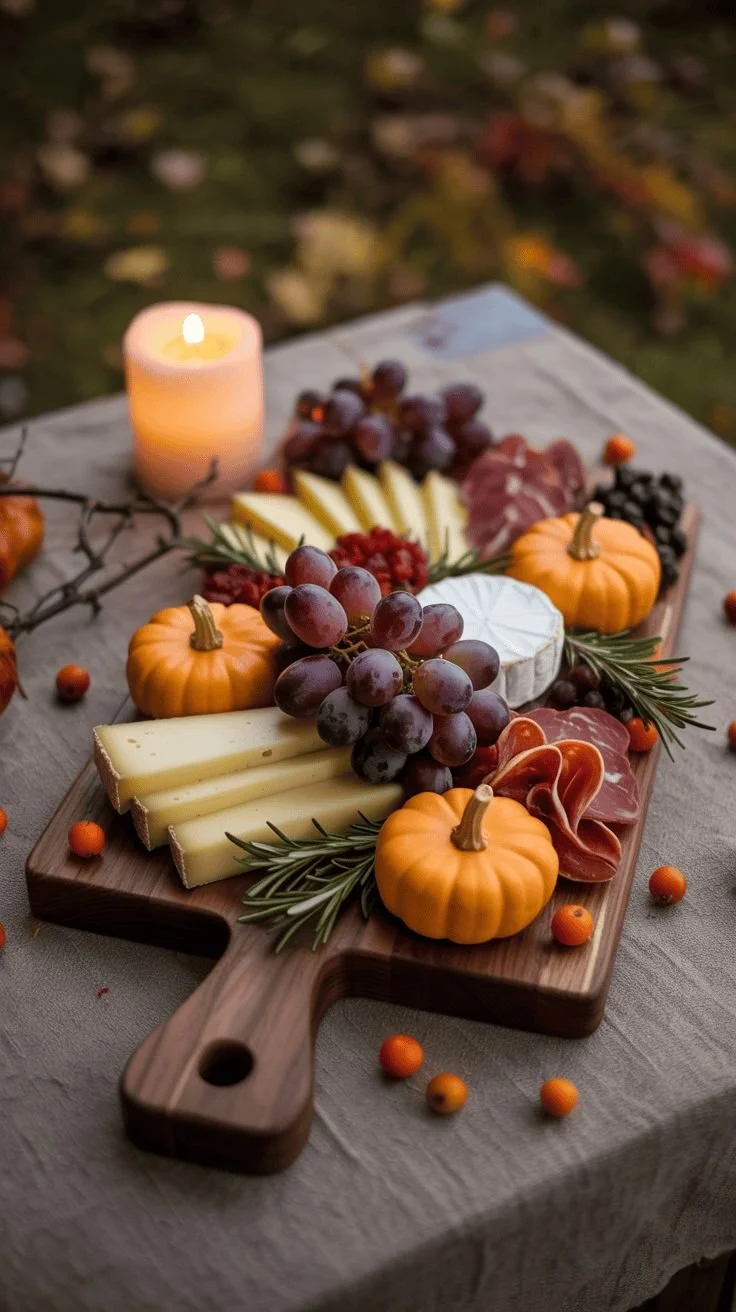
Creating a Halloween-themed charcuterie board is a fun and visually appealing way to celebrate the spooky season. This recipe combines an assortment of delicious cheeses, cured meats, and festive treats that will delight both kids and adults. Perfect for parties or casual gatherings, this board is not only tasty but also allows for creativity in presentation, making it a memorable centerpiece for any Halloween celebration.
Why You’ll Love Halloween Themed Charcuterie Boards
- All-in-One Snack: A charcuterie board offers a variety of flavors and textures in one place. With cheeses, meats, fruits, and sweets, there’s something for everyone.
- Customizable: You can tailor the ingredients based on your personal preferences, dietary restrictions, or what’s in season, making it an adaptable choice for any occasion.
- Visually Stunning: The vibrant colors of fresh fruits, the rustic appeal of cured meats, and the playful Halloween decorations create an eye-catching centerpiece that guests will love.
- Easy to Prepare: Even for beginners, assembling a charcuterie board is straightforward and requires no cooking, making it a stress-free option.
- Interactive Fun: Guests enjoy picking and choosing their favorites from the board, encouraging mingling and conversation during your gathering.
Recipe Overview
- Prep Time: 20 minutes
- Cook Time: 0 minutes
- Total Time: 20 minutes
- Servings: 8 servings
- Difficulty Level: Easy
Ingredients You’ll Need for Halloween Themed Charcuterie Boards
- Assorted Cheeses:
- Cheddar
- Brie
- Gouda
- Cured Meats:
- Salami
- Prosciutto
- Fruits:
- Grapes
- Apples
- Vegetables:
- Carrots
- Celery sticks
- Snacks:
- Black olives
- Candy corn
- Pumpkin-shaped crackers
- Dips:
- Hummus
- Ranch dressing
- Decorations:
- Halloween-themed items (like plastic spiders or ghost figures)
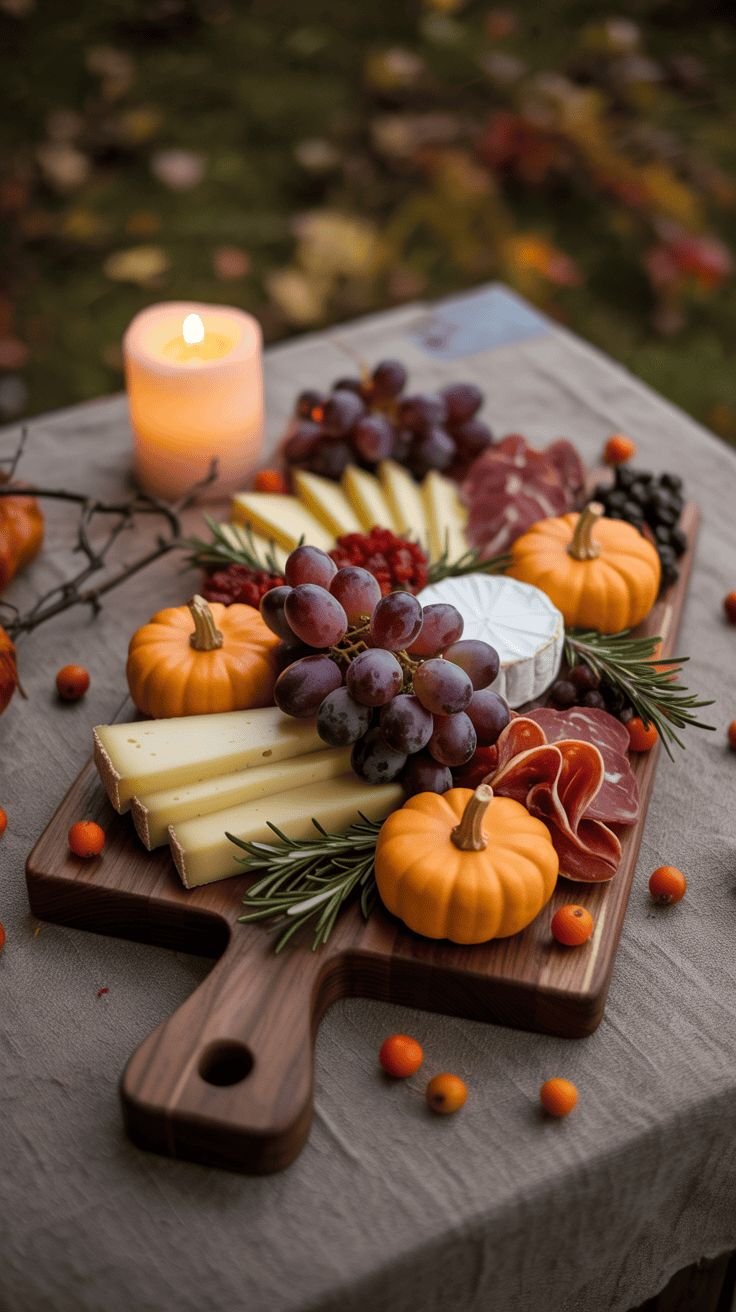
How to Make Halloween Themed Charcuterie Boards
- Choose Your Base: Start by selecting a large board or platter as your base. A wooden cutting board or a chic serving platter works best.
- Arrange Cheeses: Place the assorted cheeses around the board, varying their positions and keeping some space for other elements.
- Add Cured Meats: Next, arrange the cured meats in creative shapes, like rosettes or neatly folded slices, to add visual interest.
- Fill in Gaps: Use black olives, candy corn, and pumpkin-shaped crackers to fill any empty spaces, ensuring a balanced look.
- Add Fresh Fruits and Vegetables: Include fresh fruits and crisp vegetable sticks to add color and freshness to the board. They create an inviting look while providing healthful options.
- Incorporate Dips: Use small bowls for dips like hummus and ranch dressing, placing them strategically on the board for easy access.
- Decorate: Finally, enhance the Halloween theme by scattering Halloween-themed decorations around the board. These can be plastic spiders or mini pumpkins. Serve and enjoy!
Tips for Success
- Cheese Selection: Choose a variety of textures and flavors—try including at least one soft cheese, one hard cheese, and a blue cheese for contrast.
- Color Balance: Use a mix of colorful fruits and vegetables to create a visually appealing layout that draws the eye.
- Placement: Start with the larger items (cheeses and bowls of dips) and fill in with smaller snacks to ensure the board looks full and balanced.
- Temperature: Let your cheeses sit out for about 30 minutes before serving. This enhances their flavor and ensures they’re at the perfect texture.
- Keep it Fresh: If preparing in advance, store the fresh ingredients separately to maintain their crispness and flavor until you assemble the board.
Easy Variations
- Meat Variety: Swap out the cured meats for plant-based alternatives like marinated tofu or assorted nuts for a vegetarian option.
- Cheese Swap: Experiment with different types of cheese, such as goat cheese or feta, to add interesting flavors and textures.
- Seasonal Fruits: In addition to grapes and apples, consider adding seasonal fruits like pears or figs for a fall touch.
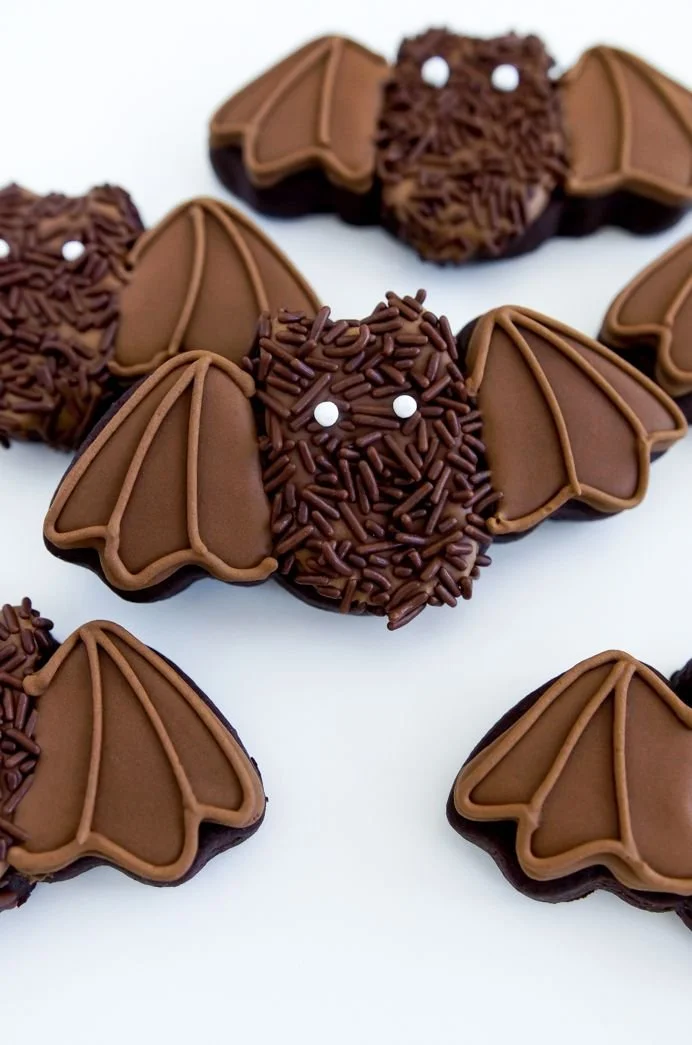
- Spooky Treats: Incorporate Halloween-themed treats like chocolate-covered pretzels shaped into bats or ghosts for a playful twist.
- Spice it Up: Include spicy olives or jalapeño peppers for guests who enjoy a kick.
What to Serve with Halloween Themed Charcuterie Boards Guests Will Love
- Wine or Cider: A light white wine or a spiced apple cider pairs beautifully with the flavors of the board and enhances the festive atmosphere.
- Chips or Crackers: Include some savory snacks like tortilla chips or artisan crackers for added crunch and flavor options.
- Charcuterie Skewers: Create mini skewers with pieces of cheese, meat, and grapes for a fun and portable option that complements the board.
- Artisan Bread: Slices of crusty bread or breadsticks can provide a nice alternative base for the cheese and meats.
- Desserts: Consider serving cookies or themed cupcakes for a sweet ending that ties in with the Halloween theme.
Storage and Reheating
- Refrigerator Storage: Store leftover components in airtight containers in the refrigerator. Consume meats and cheeses within 3-4 days for best freshness.
- Freezer Storage: Generally, this type of board should be consumed fresh. However, you can freeze leftover meats and cheeses. Defrost in the fridge before serving.
- Best Reheating Method: If using leftover dips, gently reheat them in the microwave until warm. Avoid reheating fruits and vegetables as they are best fresh.
- Texture Preservation: Keep dips in their bowls and cover toppings tightly to prevent them from drying out.
- Meal Prep Tip: For time-saving, pre-cut vegetables and fruits a day ahead and store them in water to keep them crisp until assembly.
Common Mistakes to Avoid
- Overcrowding: Avoid cramming too many items onto the board, which can make it look cluttered. Leave space for guests to serve themselves easily.
- Neglecting Variety: Sticking to only one type or flavor of ingredient can make the board less appealing. Mix flavors to create a balanced taste experience.
- Ignoring Freshness: Don’t use wilted fruits or stale snacks as they will detract from the overall enjoyment of the board. Always use fresh ingredients.
- Forgetting about Dietary Needs: Be mindful of guests’ dietary preferences or restrictions to ensure everyone can enjoy the offerings.
- Insufficient Temperature Control: Serving cheese too cold can dull its flavors, so allow it to come to room temperature before serving.
Halloween Themed Charcuterie Boards: Background & Cultural Inspiration
Charcuterie boards have a rich history dating back to ancient European traditions, where meats and cheeses were served as part of a communal meal. The Halloween-themed twist on this classic dish draws inspiration from seasonal harvests, showcasing colorful and playful items that celebrate the spirit of the holiday. Traditionally, charcuterie emphasizes the art of preserving and preparing meats, but with the addition of fruits, vegetables, and fun decorations, it transforms into an inviting experience for gatherings. This board is a fantastic way to bridge cultures and generations, offering everyone a chance to share food in a festive and communal setting.
Frequently Asked Questions
Can I use different types of meat on my charcuterie board?
Yes! Feel free to mix various cured meats like prosciutto, chorizo, or turkey slices. For a vegetarian option, consider grilled vegetables or marinated tofu.
How long can I store leftovers from the charcuterie board?
Most meats and cheeses can be stored in the refrigerator for 3-4 days if kept in airtight containers. Fresh items may last less time.
What if I don’t like certain cheeses?
You can substitute with your favorites or explore other varieties like gouda, goat cheese, or even flavored cream cheeses to suit your taste.
Can I prepare the board in advance?
Absolutely! Pre-cut fruits and vegetables can be stored in water for freshness. Assemble the board no more than a couple of hours before serving to keep everything looking and tasting fresh.
What is the best way to serve the board?
Place the board at the center of the table with small plates or napkins nearby, and encourage guests to serve themselves, making it an interactive experience.
Final Thoughts
Creating a Halloween-themed charcuterie board is not only a delightful way to celebrate the season but also a practical and enjoyable centerpiece for any gathering. Its versatility allows you to customize it with your favorite flavors and ingredients, making it accessible for all skill levels. So gather your festive foods, let your creativity flow, and enjoy the fun of assembling a beautiful and delicious charcuterie board that your guests will love!
PrintHalloween Themed Charcuterie Board
A fun and visually appealing Halloween-themed charcuterie board featuring an assortment of cheeses, cured meats, fresh fruits, and festive treats.
- Prep Time: 20 minutes
- Cook Time: 0 minutes
- Total Time: 20 minutes
- Yield: 8 servings
- Category: Appetizer
- Method: No Cooking Required
- Cuisine: American
- Diet: Vegetarian
Ingredients
- Cheddar cheese
- Brie cheese
- Gouda cheese
- Salami
- Prosciutto
- Grapes
- Apples
- Carrots
- Celery sticks
- Black olives
- Candy corn
- Pumpkin-shaped crackers
- Hummus
- Ranch dressing
- Halloween-themed decorations (plastic spiders, ghost figures)
Instructions
- Choose your base: Start by selecting a large board or platter.
- Arrange the assorted cheeses around the board.
- Add the cured meats in creative shapes.
- Fill in gaps with black olives, candy corn, and crackers.
- Add fresh fruits and vegetables for color and freshness.
- Incorporate dips in small bowls strategically on the board.
- Decorate the board with Halloween-themed items.
- Serve and enjoy!
Notes
For a spooky touch, incorporate Halloween-themed treats and serve with wine or cider.