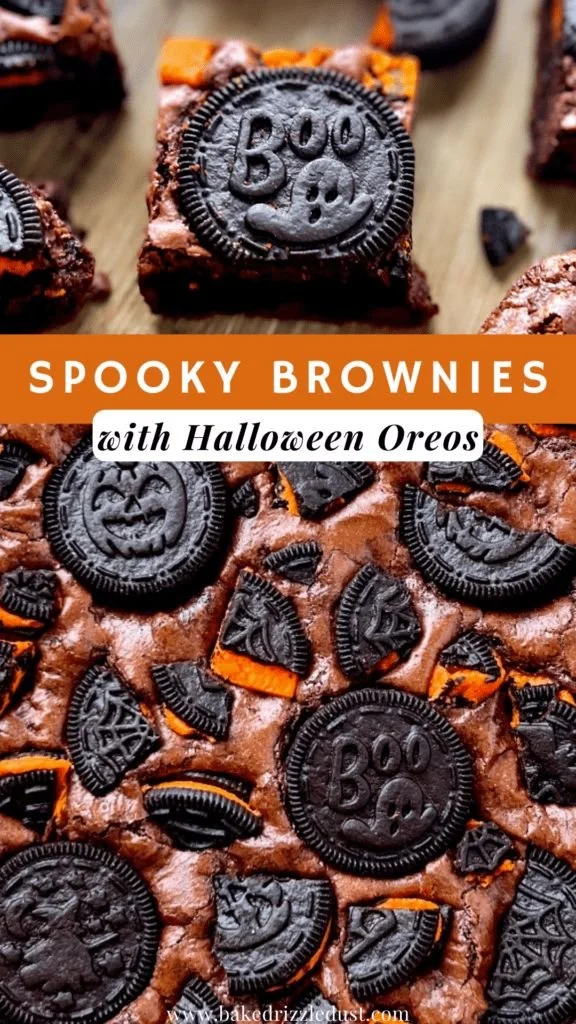
Halloween Oreo Cookie Boo Brownies are the perfect treat for anyone looking to celebrate the spooky season with a fun and delicious dessert. These brownies combine the rich, fudgy texture of boxed brownies with the iconic taste of Oreos and a drizzle of chocolate, making them a festive and easy-to-make confection. You’ll find they’re great for parties, gatherings, or simply enjoying at home.
Why You’ll Love Halloween Oreo Cookie Boo Brownies
- Simplicity: You can prepare these brownies quickly with minimal ingredients and effort, making them perfect for novice bakers.
- Festive Appeal: The addition of Halloween-themed Oreo cookies and sprinkles makes these brownies a visually striking treat that’s sure to impress.
- Made for Sharing: These brownies are easy to cut into squares, and they’re a hit with both kids and adults—ideal for sharing at Halloween parties or potlucks.
- Customizable: The recipe is flexible, allowing you to add your favorite toppings or mix-ins, adapting it to your liking.
- Comforting Flavor: The delicious chocolate flavor combined with the creamy Oreo filling creates a comforting dessert that’s hard to resist, especially during fall.
Recipe Overview
- Prep Time: 10 minutes
- Cook Time: 20-25 minutes
- Total Time: 30-35 minutes
- Servings: 12 squares
- Difficulty Level: Easy
Ingredients You’ll Need for Halloween Oreo Cookie Boo Brownies
- Brownie Base:
- 1 box brownie mix
- 2 eggs
- 1/3 cup vegetable oil
- 1/4 cup water
- Toppings:
- Oreo cookies (Halloween-themed, for topping)
- Chocolate drizzle (for decoration)
- Sprinkles (optional, for decoration)
Use the boxed brownie mix for convenience, and feel free to swap it with a homemade brownie recipe if you prefer. The oils help maintain moisture, while the addition of crushed Oreos adds a delightful crunch and flavor.
How to Make Halloween Oreo Cookie Boo Brownies
-
Preheat the Oven: Set your oven to 350°F (175°C) and grease a baking pan. This ensures the brownies don’t stick and can be easily removed once baked.
-
Mix the Brownie Batter: In a large mixing bowl, combine the brownie mix, eggs, vegetable oil, and water. Stir until everything is well blended and you have a smooth batter.
-
Pour the Batter: Transfer the brownie mixture into the greased baking pan. Spread the batter evenly to ensure even baking.
-
Bake the Brownies: Place the pan in the preheated oven and bake according to the package instructions, usually around 20-25 minutes. Check for doneness by inserting a toothpick into the center—it should come out with a few moist crumbs.
-
Cool in the Pan: Once baked, remove the brownies from the oven and let them cool in the pan for about 10-15 minutes.
-
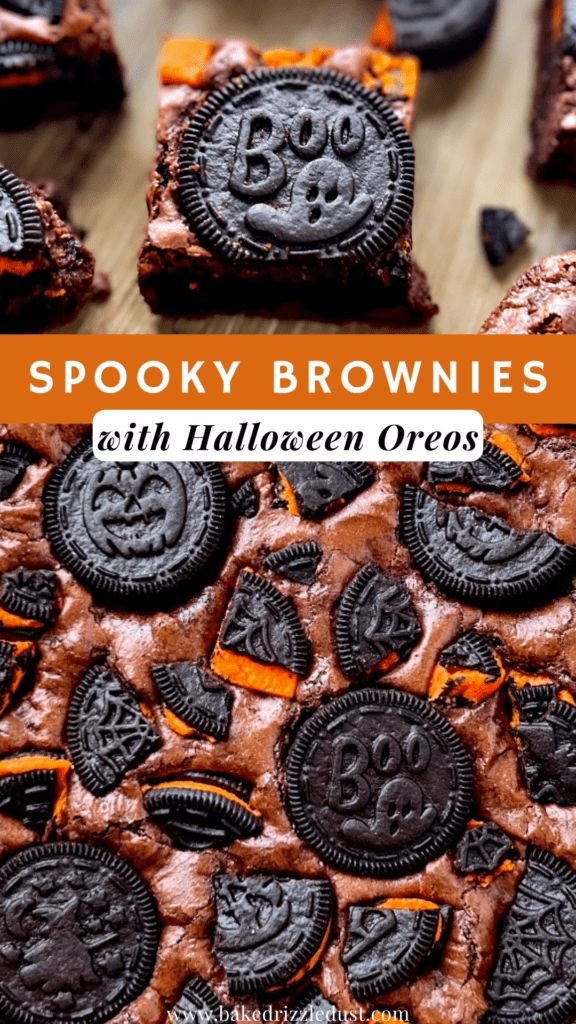
Add the Oreo Topping: Crush a few Halloween-themed Oreo cookies into small pieces. Once the brownies are cool, sprinkle the crushed Oreos generously on top.
-
Drizzle Chocolate: Melt chocolate for drizzling and pour it over the crushed Oreos. Add sprinkles if you desire for an extra festive touch.
-
Cut and Serve: Allow the chocolate drizzle to set, then cut the brownies into squares, plate them, and enjoy!
Tips for Success
- Don’t Overmix: Once your ingredients are combined, stop mixing to avoid tough brownies.
- Watch the Baking Time: Ovens vary, so keep an eye on your brownies during the last few minutes of baking to avoid overcooking.
- Let Them Cool: Allow the brownies to cool thoroughly before adding toppings to prevent them from melting.
- Customize Your Toppings: Feel free to experiment with different toppings, like peanut butter chips or caramel drizzle, for your unique twist.
Easy Variations
- Nutty Brownies: Toss in a handful of chopped nuts, such as walnuts or pecans, for added texture.
- Fruity Additions: Add chopped strawberries or raspberries for a burst of fruit flavor paired with chocolate.
- Minty Twist: Use mint-flavored Oreos or swirl in mint extract for a refreshing mint chocolate experience.
- Gluten-Free Version: Use a gluten-free brownie mix and ensure your toppings are also gluten-free.
What to Serve with Halloween Oreo Cookie Boo Brownies
- Ice Cream: Vanilla or chocolate ice cream pairs beautifully with the rich brownie flavor.
- Milk: A classic glass of cold milk balances the sweetness and provides a nostalgic comfort.
- Coffee or Hot Chocolate: For an indulgent experience, serve the brownies with a warm cup of coffee or hot chocolate, perfect for chilly evenings.
- Fruit Salad: A light and refreshing fruit salad can complement the sweet, fudgy brownies.
Storage and Reheating
- Refrigerator Storage: Store the brownies in an airtight container in the refrigerator for up to one week.
- Freezer Storage: For longer storage, freeze the brownies in a tightly sealed container for up to three months. Thaw in the refrigerator overnight before serving.
- Reheat for Warmth: To enjoy them warm, microwave the brownies for 15-20 seconds. This will revive their fudginess without overcooking.
Common Mistakes to Avoid
- Not Greasing the Pan: Failing to grease the pan can lead to sticking, making it hard to cut the brownies.
- Using Cold Ingredients: Make sure your eggs and other ingredients are at room temperature for a smoother batter.
- Overbaking: Keep an eye on the brownies as baking times may differ, especially with different oven types.
Halloween Oreo Cookie Boo Brownies: Background & Cultural Inspiration
Halloween treats often embrace creativity and fun, reflecting the spirit of the holiday. The combination of brownies and Oreos results from a marriage between classic desserts that are loved by many. Brownies have a rich history dating back to the late 19th century, and adding Oreos brings in a modern twist. The tradition of decorating treats for Halloween allows for creativity, making these brownies a fun way to celebrate the season.
Frequently Asked Questions
Can I make these brownies ahead of time?
Yes, you can prepare the brownies the day before you plan to serve them. They actually taste better the next day as the flavors meld. Just add the toppings before serving.
What can I use instead of Oreos?
You can substitute other sandwich cookies, such as chocolate cream or peanut butter cookies, to give a different flavor profile.
Can I make these brownies dairy-free?
Yes, use plant-based substitutes for the eggs (like flax eggs) and choose dairy-free chocolate for the drizzle.
What is the best way to cut brownies neatly?
Use a sharp knife and make sure to wipe it clean between cuts for neat, even squares.
How long do these brownies stay fresh?
Stored properly, they will last in the refrigerator for up to a week and in the freezer for three months.
Final Thoughts
These Halloween Oreo Cookie Boo Brownies are a delightful way to celebrate the spooky season with something deliciously sweet. Combining simple ingredients and a few creative toppings, this recipe is not only easy to make but also incredibly rewarding. Whether for a Halloween party, a family treat, or just a cozy night in, these brownies are sure to become a favorite. Enjoy creating and sharing this fun dessert!
PrintHalloween Oreo Cookie Boo Brownies

These festive brownies combine fudgy boxed brownies with Halloween-themed Oreos and a chocolate drizzle, perfect for parties or gatherings.
- Prep Time: 10 minutes
- Cook Time: 25 minutes
- Total Time: 35 minutes
- Yield: 12 squares
- Category: Dessert
- Method: Baking
- Cuisine: American
- Diet: Vegetarian
Ingredients
- 1 box brownie mix
- 2 eggs
- 1/3 cup vegetable oil
- 1/4 cup water
- Oreo cookies (Halloween-themed, for topping)
- Chocolate drizzle (for decoration)
- Sprinkles (optional, for decoration)
Instructions
- Preheat the oven to 350°F (175°C) and grease a baking pan.
- Mix the brownie mix, eggs, vegetable oil, and water in a large mixing bowl until smooth.
- Pour the batter into the greased baking pan and spread evenly.
- Bake according to the package instructions, about 20-25 minutes, checking for doneness.
- Cool the brownies in the pan for 10-15 minutes.
- Add crushed Halloween-themed Oreo cookies on top once the brownies are cool.
- Drizzle melted chocolate over the crushed Oreos, adding sprinkles if desired.
- Cut into squares and serve.
Notes
Don’t overmix the batter and keep an eye on the baking time to prevent overcooking.