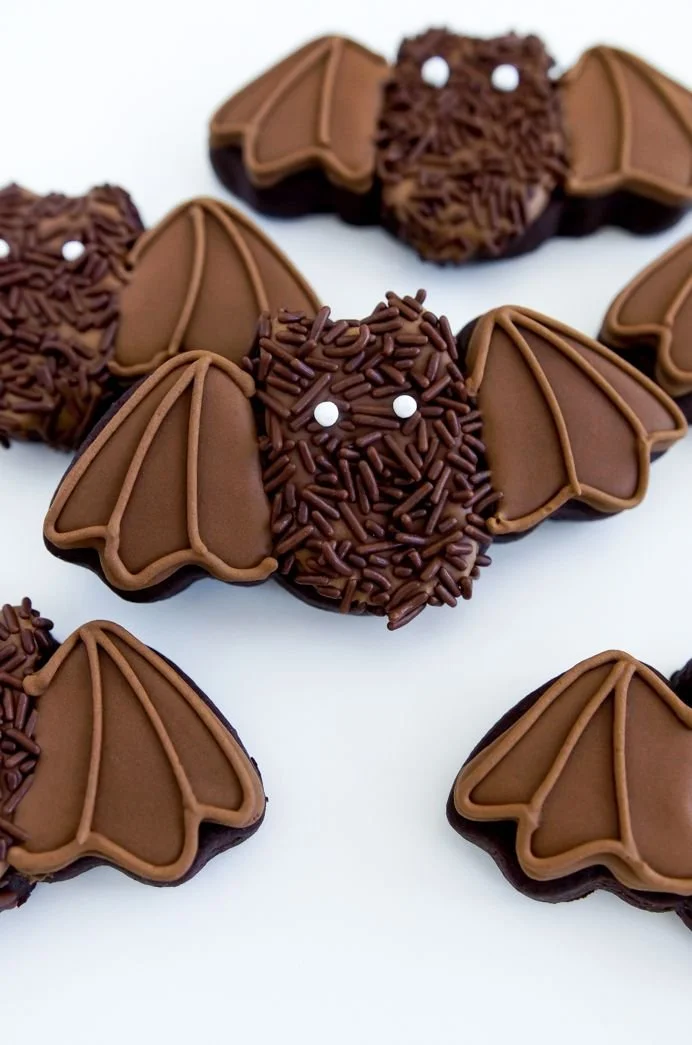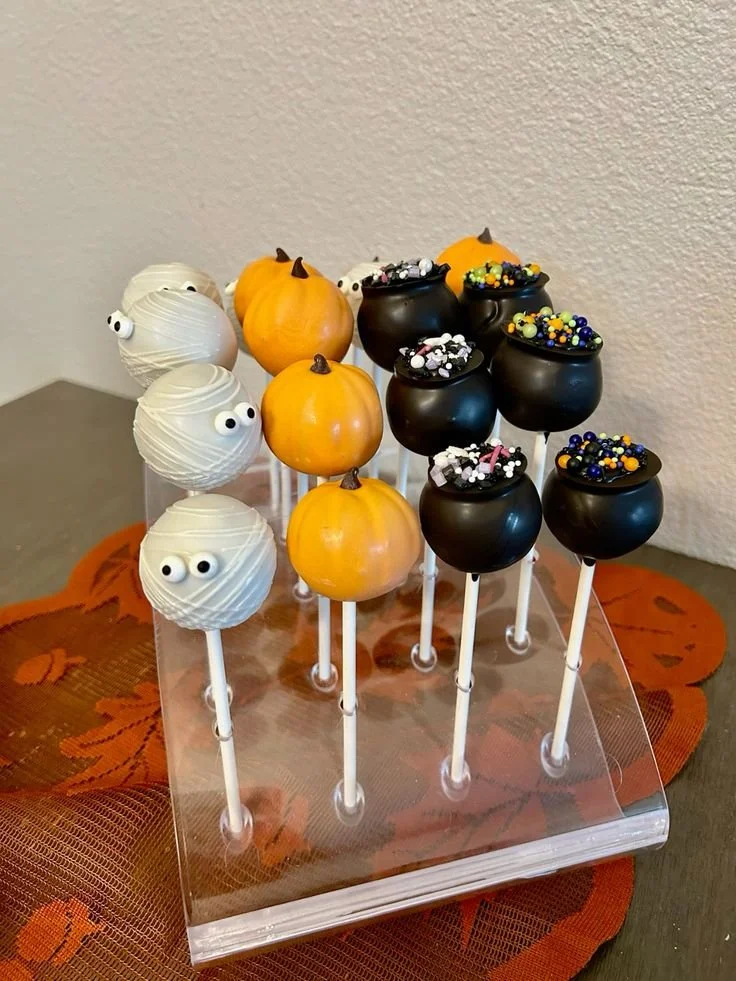
Creating delicious and fun Halloween Cake Pops is an excellent way to celebrate the season. These tasty treats are perfect for gatherings, as they bring a festive touch and delight everyone, both young and old. Plus, they are simple enough for beginner bakers to create, making them an ideal project for family fun.
Why You’ll Love Halloween Cake Pops
- Fun and Festive: These cake pops are the perfect addition to any Halloween celebration, making them an instant crowd-pleaser.
- Easy to Make: Even novice bakers can successfully create these treats, thanks to straightforward instructions and minimal ingredients.
- Customizable: With a variety of decorative options, you can personalize each cake pop to match your theme or mood.
- Portable and Mess-Free: Perfectly sized to fit in your hand, cake pops are easy to transport and enjoy without the mess of traditional cake.
- Creative Outlet: Decorating cake pops offers a great medium for expressing creativity. You can try different flavors, colors, and toppings.
Recipe Overview
- Prep Time: 30 minutes
- Cook Time: 25 minutes
- Total Time: 55 minutes (plus cooling time)
- Servings: About 20 cake pops
- Difficulty Level: Easy
Ingredients You’ll Need for Halloween Cake Pops
-
For the Cake:
- 1 box vanilla cake mix (or your favorite flavor)
- 3 large eggs
- 1 cup water
- 1/3 cup vegetable oil
-
For the Cake Pop Mixture:
- 1 cup frosting (store-bought or homemade)
-
For the Coating:
- 12 oz candy melts (orange and black are perfect for Halloween)
- Sprinkles or edible decorations for garnish
- Lollipop sticks
here
How to Make Halloween Cake Pops
-
Bake the Cake
Preheat your oven to 350°F (175°C). Prepare a 9×13-inch baking pan by greasing it with cooking spray. Mix the vanilla cake mix, eggs, water, and vegetable oil in a large bowl according to package instructions. Pour the batter into the prepared pan and bake for 25-30 minutes, or until a toothpick inserted in the center comes out clean. Once baked, allow the cake to cool completely. -
Create Cake Crumbs
Once the cake is cool, crumble it into a large mixing bowl. Break it down until fine and fluffy. You can use your hands or a fork to achieve the desired texture. -
Mix in Frosting
Add the frosting to the crumbled cake. Mix until well combined. The mixture should hold together when squeezed but not be too wet. -
Form Cake Balls
Using your hands, scoop out a tablespoon of the cake mixture and roll it into a ball. Place the balls on a baking sheet lined with parchment paper. Repeat this process until all the mixture is used. Chill the cake balls in the refrigerator for about 30 minutes. -
Melt the Candy Coating
In a microwave-safe bowl, melt the candy melts according to the package instructions. Stir until smooth and fully melted. -
Dip and Decorate
Dip the end of a lollipop stick into the melted candy coating. Insert the stick halfway into a cake ball. Repeat with all cake balls. Dip each cake pop into the melted candy coating, allowing excess to drip off. Immediately sprinkle with edible decorations before the coating hardens. Place upright in a cake pop stand or a block of Styrofoam to dry. -
Serve and Enjoy
Once the candy coating has set, your Halloween Cake Pops are ready to be served!
Tips for Success
- Make sure the cake is entirely cool before crumbling; otherwise, the mixture can become too moist.
- Use different flavors of cake mix and frosting for unique flavor combinations.
- Chill the cake balls prior to dipping to ensure they hold their shape.
- Don’t rush the melting of the candy melts—heat in short intervals to avoid burning.
- Feel free to mix in mini chocolate chips or candy corn into the crumbled cake for added texture.
Easy Variations
- Flavor Swaps: Experiment with chocolate cake mix and chocolate frosting for a rich twist.
- Dairy-Free Option: Substitute the frosting with a dairy-free version and use dairy-free candy melts.
- Seasonal Flavors: Consider pumpkin spice cake mix for a different autumnal flavor.
- Add-Ins: Incorporate crushed nuts or candy pieces into the cake mixture for extra crunch.
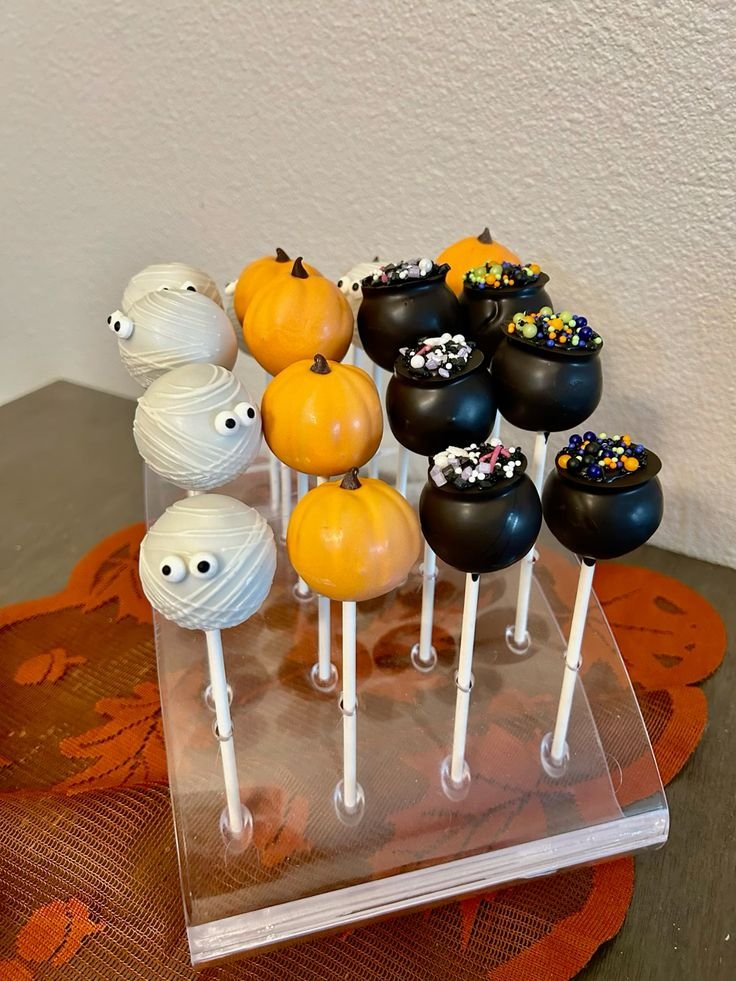
- Decorative Styles: Instead of traditional pops, make them look like mummies by wrapping melted white candy coating and adding candy eyes.
What to Serve with Halloween Cake Pops
- Apple Cider: A warm cup of apple cider pairs perfectly with the sweetness of cake pops.
- Pumpkin Spice Latte: This seasonal favorite complements the festive vibe of the cake pops.
- Chocolate Milk: A classic drink that balances the sweetness for kids and adults alike.
- Spooky Treat Table: Create a spread with themed goodies like ghost cookies and candy corn to match the festive theme.
Storage and Reheating
- Refrigerator Storage: Store the dipped cake pops in an airtight container in the refrigerator for up to one week.
- Freezer Storage: Cake pops can be frozen for up to a month. Wrap them individually in plastic wrap and place them in a freezer-safe container.
- Best Reheating Method: It’s best to serve the cake pops cold or at room temperature. If frozen, allow them to thaw in the refrigerator before serving.
- Preventing Texture Changes: Avoid reheating the cake pops as the candy coating may lose its integrity.
Common Mistakes to Avoid
- Overmixing the Cake: Avoid handling the cake crumbs too much; they should be mixed just until combined with frosting.
- Not Cooling the Cake: Always ensure the cake is fully cooled before crumbling to prevent a soggy mixture.
- Using Cold Candy Coating: If the candy melts are too cold when you dip, they might not adhere well to the cake pops.
- Improper Storage: Leaving cake pops uncovered can cause them to dry out. Always keep them in an airtight container.
- Skipping the Refrigeration Step: Chilling the cake balls before dipping is crucial for maintaining their shape during dipping.
Halloween Cake Pops: Background & Cultural Inspiration
Halloween, with its rich history rooted in ancient Celtic traditions, provides a backdrop for one of the most loved celebrations in America. Halloween Cake Pops, deriving from the age-old "treats for tricks" concept, bridge the gap between nostalgia and modern baking. They reflect the creative spirit of the holiday, evolving from simple cakes into intricate, fun, and festive forms, making them beloved additions to Halloween festivities everywhere.
Frequently Asked Questions
Can I use homemade cake instead of box mix?
Yes, you can absolutely use homemade cake. Just ensure it’s a dense cake that can hold up to crumbling.
How long can I store cake pops?
Cake pops can be stored in an airtight container in the refrigerator for about one week and can be frozen for up to one month.
Can I make these ahead of time?
Yes, you can make the cake balls a few days in advance and dip them on the day of your celebration.
What if my candy coating is too thick?
If the candy coating is too thick, you can add a small amount of shortening to thin it out. Mix well until smooth.
How can I make cake pops less sweet?
Consider using less frosting in the mixture or opting for dark chocolate candy melts, which generally have a richer taste with less sweetness.
Final Thoughts
Making Halloween Cake Pops offers a delightful way to celebrate the season while enjoying some quality time in the kitchen. These trendy treats are not only enjoyable to make but also to eat. With endless decorating possibilities and flavors, they’re sure to become a staple for your spooky festivities. So gather your ingredients and start baking—these cake pops are a hit waiting to happen!