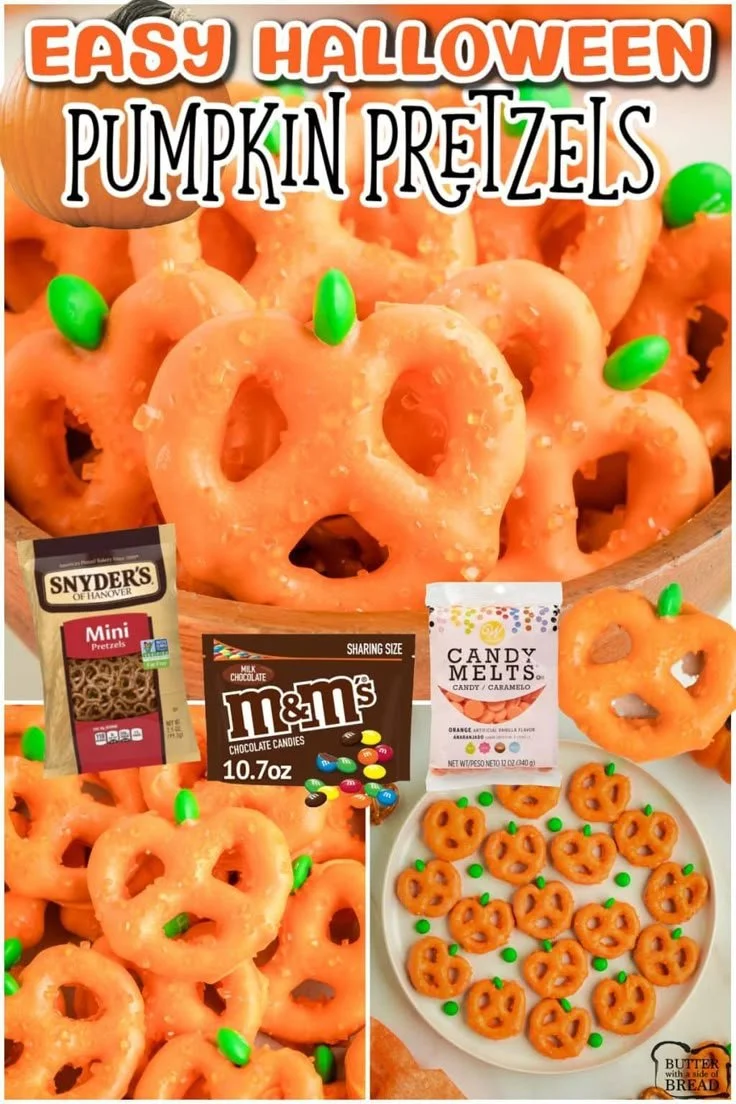
These Easy Pumpkin Pretzels are a delightful treat that brings the spirit of fall right to your kitchen. Covered in sweet orange chocolate and adorned with tiny chocolate chip eyes and candy melts for stems, they’re not only fun to make but also delightful to look at. Perfect for Halloween parties, autumn gatherings, or simply an afternoon snack, these pretzels are sure to be a hit with both kids and adults alike.
Why You’ll Love Easy Pumpkin Pretzels
- Fun to Make: These pretzels are an engaging project for the whole family. Kids will love the opportunity to help dip and decorate.
- Easy to Customize: With a base recipe that’s simple to work with, you can easily personalize these treats with various colors or toppings.
- Perfect for Celebrations: Whether for Halloween or a fall-themed party, these cute pretzels add a special touch and festive spirit to your dessert table.
- No Baking Required: This recipe skips the oven, making it perfect for hot days or when you want to keep things simple without compromising on flavor.
- Quick to Prepare: From start to finish, you can have these delicious snacks ready in less than an hour.
Recipe Overview
- Prep Time: 15 minutes
- Cook Time: 15 minutes (allowing for melting and decorating)
- Total Time: 30 minutes
- Servings: About 12 pretzels
- Difficulty Level: Easy
Ingredients You’ll Need for Easy Pumpkin Pretzels
- 1 bag of pretzel rods: These serve as the base for your pumpkins.
- 1 cup orange melting chocolate: This is the main ingredient that gives the pretzels their pumpkin color and sweetness.
- Mini chocolate chips: Use these for creating the eyes of the pumpkins.
- Green candy melts: These are used to make the stems, adding a lovely contrast to the orange.
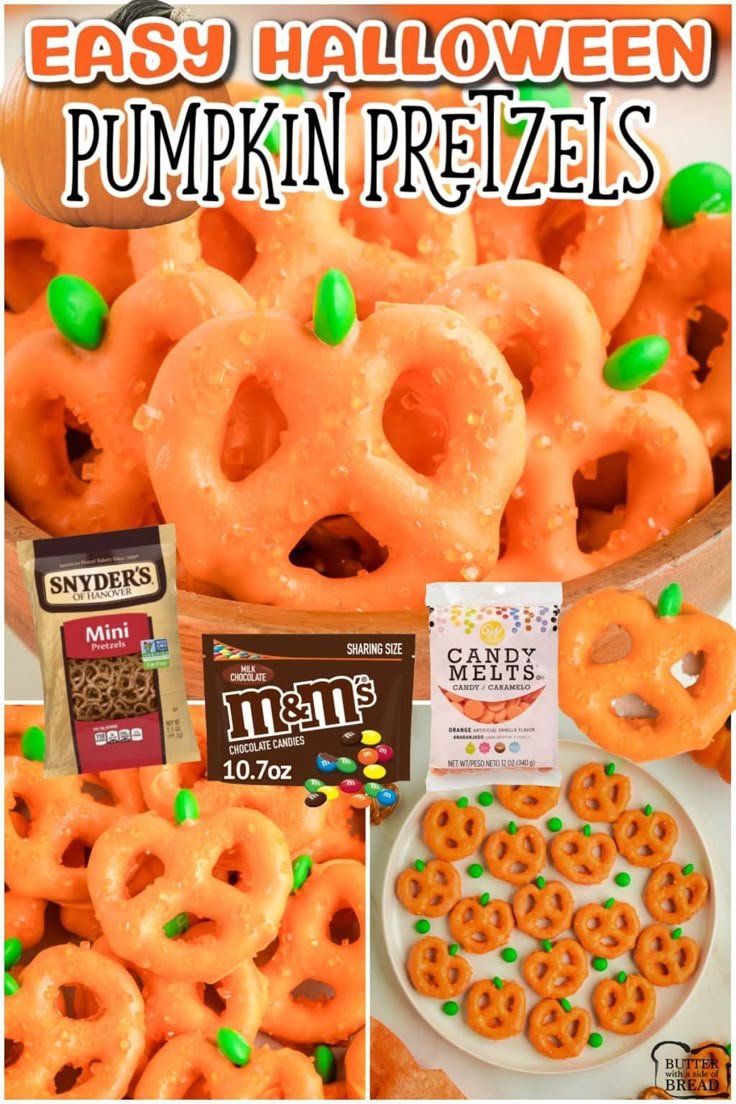
here
How to Make Easy Pumpkin Pretzels
-
Melt the Orange Chocolate
- Place the orange melting chocolate in a microwave-safe bowl. Heat in 30-second increments, stirring in between, until smooth.
-
Dip the Pretzel Rods
- Take each pretzel rod and dip it into the melted chocolate, ensuring it’s coated evenly. Use a spoon if necessary to help cover all sides.
-
Prepare for Topping
- Lay the coated pretzels on a baking sheet lined with parchment paper. This prevents sticking and makes cleanup easier.
-
Add Eyes
- While the chocolate is still wet, add mini chocolate chips on each pretzel rod to create eyes. Position them however you like for added character.
-
Drizzle the Stems
- Melt the green candy melts in a separate bowl. Use a spoon or a small piping bag to drizzle the melted candy over the top of each pretzel to form stems.
-
Let Them Set
- Allow the pretzels to sit at room temperature until the chocolate and candy melts have hardened completely, about 15 minutes.
Tips for Success
- Use Quality Chocolate: Choosing high-quality melting chocolate will enhance both flavor and appearance.
- Don’t Rush Melting: Take your time melting the chocolate to prevent burning. Stir often and watch closely.
- Temperature Matters: Working in a cool environment can help the chocolate set faster.
- Storage: Place finished pretzels in a cool, dry place to keep them crisp.
Easy Variations
- Different Colors: Switch out the orange chocolate for other colors to create a variety of seasonal treats.
- Add Sprinkles: Before the chocolate hardens, sprinkle them with colored sprinkles to give them more festive flair.
- Change the Shape: Use shorter pretzel rods or even pretzel twists to create different shapes of pumpkins.
- Peanut Butter Filling: For an extra flavor kick, dip pretzels in peanut butter before coating with chocolate.
What to Serve with Easy Pumpkin Pretzels
- Hot Apple Cider: The warm, spiced flavor of apple cider complements the sweetness of the pretzels beautifully.
- Pumpkin Spice Cookies: Serve alongside these for a fun dessert duo that highlights fall flavors.
- Chocolate Dipped Fruit: Balance the sweetness with fresh fruit for a delightful snack or dessert spread.
- Cheese Platter: Offer a savory option that pairs well with the sweet pretzels for a balanced snack selection.
Storage and Reheating
- Refrigerator Storage: Store any leftovers in an airtight container in the refrigerator for up to one week.
- Freezer Storage: For longer-term storage, you can freeze the pretzels for up to three months. Just ensure they’re well-wrapped to prevent freezer burn.
- Reheating: If desired, allow them to come to room temperature before serving, as melting chocolate doesn’t need reheating.
- Preserving Texture: Keep them sealed in an airtight container to avoid moisture which can make them soggy.
Common Mistakes to Avoid
- Overheating the Chocolate: Melting chocolate too quickly can cause it to seize. Heat in shorter bursts and stir cautiously.
- Skipping the Parchment Paper: Ignoring this step can lead to miserable cleanup, as chocolate can stick to trays.
- Adding Toppings Too Late: If you wait too long before adding eyes or stems, the chocolate may harden, and toppings won’t stick.
Easy Pumpkin Pretzels: Background & Cultural Inspiration
Easy Pumpkin Pretzels draw inspiration from classic fall imagery, blending the beloved taste of chocolaty sweetness with the playful spirit of Halloween. The visual appeal of these bright, festive snacks makes them a favorite for children’s parties and family gatherings alike. As pretzel snacks are versatile and loved worldwide, this adaptation celebrates the joy of shared adventures in culinary creativity, where every bite evokes the joy and warmth of the autumn season.
Frequently Asked Questions
Can I use regular chocolate instead of melting chocolate?
Yes, but melting chocolate is recommended as it has a smoother consistency that better coats the pretzels.
How far in advance can I make these pretzels?
You can make them up to a week in advance if stored properly in an airtight container.
Can I make these pretzels gluten-free?
Certainly! Simply use gluten-free pretzel rods as your base.
How do I keep my chocolate from hardening too fast?
Work in a warm environment and only melt small batches of chocolate at a time.
What can I do if my chocolate seizes?
If this happens, try adding a small amount of vegetable oil or shortening and gently reheat until smooth again.
Final Thoughts
These Easy Pumpkin Pretzels are a fantastic way to celebrate the flavors and fun of fall. They’re simple enough for beginners yet allow for creativity and personalization. Whether you’re making them for a special gathering or just to enjoy at home, they bring smiles with every bite. Give this delightful recipe a try this season—you won’t be disappointed!
PrintEasy Pumpkin Pretzels
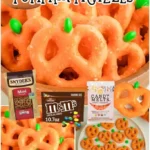
These Easy Pumpkin Pretzels are a delightful treat, covered in sweet orange chocolate and adorned with chocolate chip eyes and candy melts for stems.
- Prep Time: 15 minutes
- Cook Time: 15 minutes
- Total Time: 30 minutes
- Yield: 12 pretzels
- Category: Dessert
- Method: No Bake
- Cuisine: American
- Diet: Vegetarian
Ingredients
- 1 bag of pretzel rods
- 1 cup orange melting chocolate
- Mini chocolate chips
- Green candy melts
Instructions
- Melt the orange chocolate in a microwave-safe bowl, heating in 30-second increments until smooth.
- Dip each pretzel rod into the melted chocolate, ensuring it’s evenly coated.
- Prepare a baking sheet lined with parchment paper and lay the coated pretzels on it.
- Add mini chocolate chips as eyes on the wet chocolate.
- Drizzle melted green candy over the top to create stems.
- Let the pretzels set at room temperature for about 15 minutes until hardened.
Notes
Use quality chocolate for best flavor, and avoid rushing the melting process.